Have you ever struggled to get your eyeshadow just right? I’ve been there too. The secret isn’t just the product—it’s the brush! Mastering eyeshadow brushes can completely change your makeup game. Tools like the DYT Brush offer precision and control. Check out https://www.huiletextile.com/products/ for amazing options!
Key Takeaways
- Knowing the types of eyeshadow brushes is important. Each brush has a job to make your makeup look better.
- Pick brushes based on your skin, routine, and money. Good brushes work better and last longer.
- Wash your brushes often to keep them clean. Clean brushes stop skin problems and help makeup go on smoothly.
Understanding Eyeshadow Brushes

Types of Eyeshadow Brushes and Their Uses
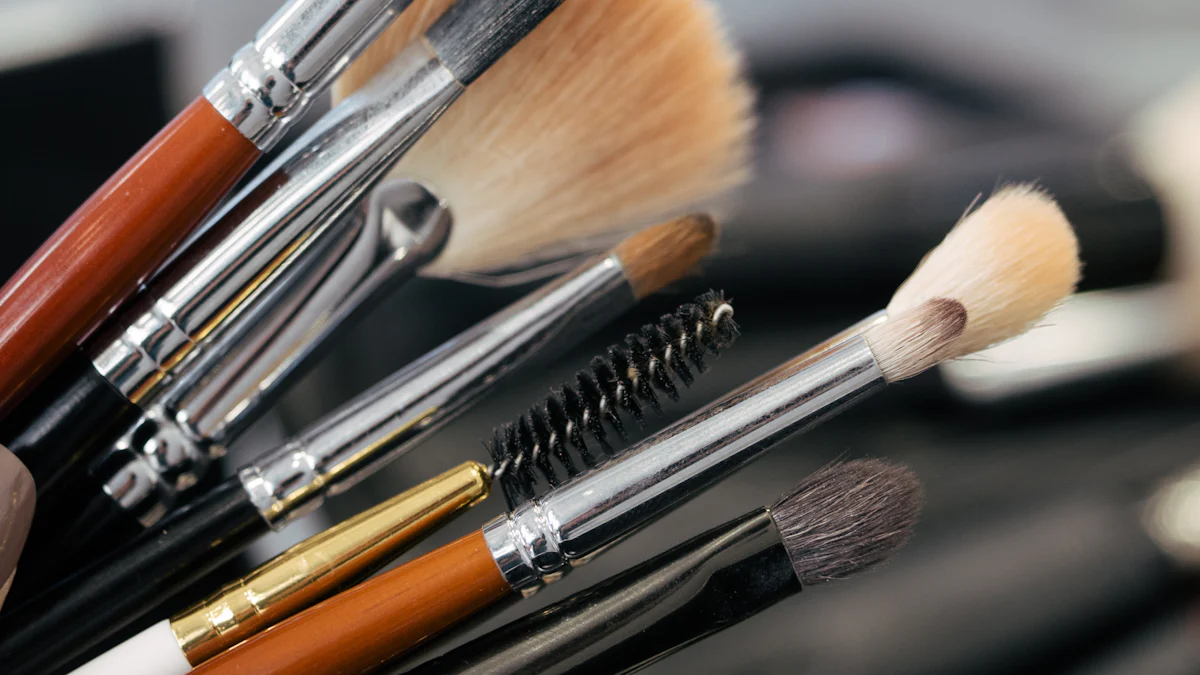
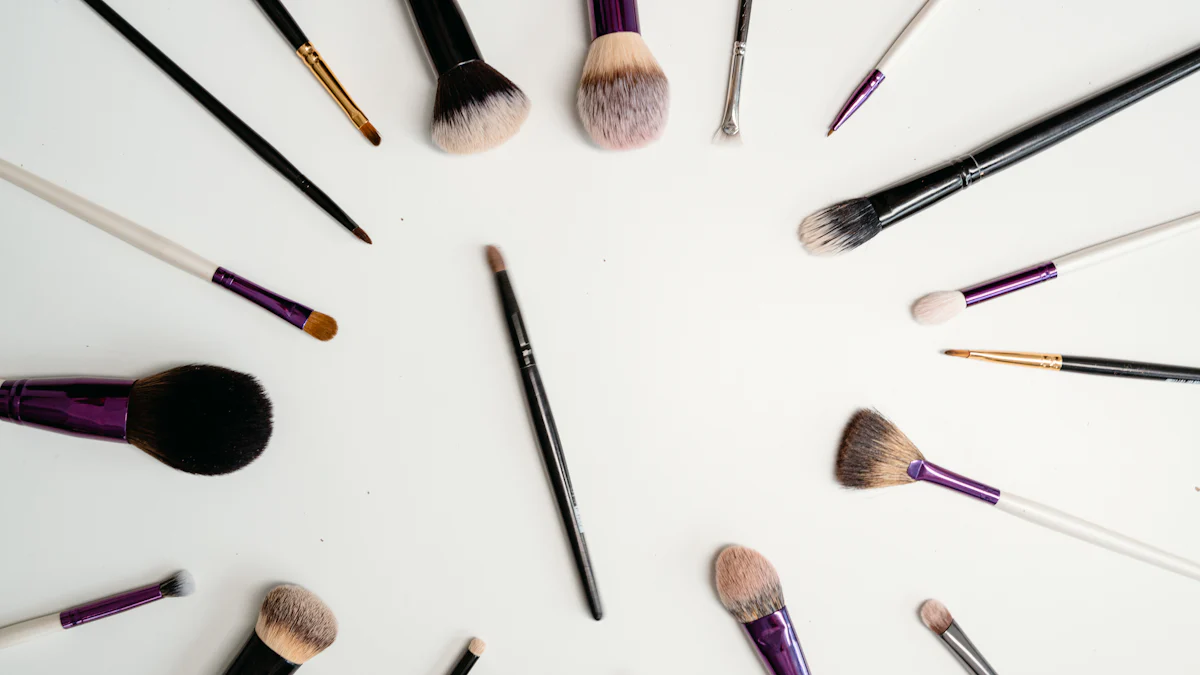
When I first started using eyeshadow brushes, I had no idea there were so many types! Each brush has a specific purpose, and knowing how to use them can make a huge difference. Here’s a quick guide to some of the most common brushes and their uses:
| Brush Type | Description | Usage Instructions |
|---|---|---|
| Classic Shader | Designed for perfect coverage over the entire lid with soft, densely-packed bristles. | Apply powder or cream eyeshadow by patting over the lid, starting from the inner corner and working outwards. |
| Small Shader | Short tightly-packed bristles for applying and smudging along the lash line. | Press product along the lash line, then blend with light circular motions. |
| Precise Shader | Short dense bristles for precision, ideal for smokey effects. | Pat darker pigment in a v-shape at the outer corner or outer crease. |
| Angled Shader | Perfect for applying color to the socket line with an angled edge. | Sweep the brush inside the socket line, starting above the tear duct. |
| Blending Brush | Long dome-shaped bristles for blending and defining colors. | Dust contour eyeshadow across the crease, blending with circular motions. |
| Angled Detailer | Short, firm bristles for precise finishes with cream, gel, and powder. | Sweep across the lash line, angling the longer end toward the tear duct. |
| Detailed Pencil | Multi-use precision tool with soft tapered bristles for hard-to-reach areas. | Brighten inner corners or darken the crease with concentrated color, blending afterward. |
I keep this table handy when I’m experimenting with new looks. It’s like having a cheat sheet for flawless eyeshadow!
Choosing the Right Brush for Your Needs
Picking the right brush can feel overwhelming, but it doesn’t have to be. Here’s what I consider when choosing my brushes:
- Skin Type: Synthetic brushes work better for oily skin, while natural bristles are great for dry or sensitive skin.
- Your Makeup Routine: If you’re like me and love experimenting, you might need a variety of brushes. For simpler routines, a few essentials will do.
- Budget: I always recommend investing in high-quality brushes within your budget. They last longer and perform better.
- Brand Reputation: Trustworthy brands make a world of difference. I’ve found that the DYT Brush, for example, offers amazing quality and precision.
Synthetic vs. Natural Bristles: Key Differences
I used to wonder if synthetic or natural bristles were better. Turns out, it depends on what you need! Here’s a quick comparison:
| Feature | Synthetic Bristles | Natural Bristles |
|---|---|---|
| Absorbency | Less absorbent, ideal for textures and sharp edges | Excellent paint-holding capacity |
| Softness | Firmer, suitable for precise application | Softer, ideal for blending colors |
| Maintenance | Easier to clean and maintain | Requires special care |
| Cost | Generally more cost-effective | Typically more expensive |
| Best Uses | Acrylics, creating textures, scrubbing techniques | Watercolors, oil paints, superior blending |
| Durability | Less prone to damage | Can last long with proper care |
I personally prefer synthetic brushes for bold, precise looks and natural bristles for soft, blended finishes. It’s all about finding what works for you.
Why the DYT Brush is a Game-Changer
Let me tell you why I love the DYT Brush. It combines the best of both worlds—precision and versatility. Whether I’m creating a sharp cut crease or blending out a smokey eye, this brush never lets me down. Its design makes it easy to control, even if you’re a beginner. Plus, it’s durable and easy to clean, which is a huge bonus for me. If you’re looking to upgrade your makeup tools, this is one brush you’ll want in your collection.
Essential Techniques for Using Eyeshadow Brushes

Applying Eyeshadow Like a Pro
When I first started applying eyeshadow, I felt overwhelmed. But once I learned a few key steps, everything clicked. Here’s how I do it:
- Prime Your Lids: I always start with an eyeshadow primer. It keeps the colors vibrant and prevents creasing.
- Contour the Crease: Using a matte shade that’s 2-3 shades darker than my skin tone, I define my crease. This adds depth and makes my eyes pop.
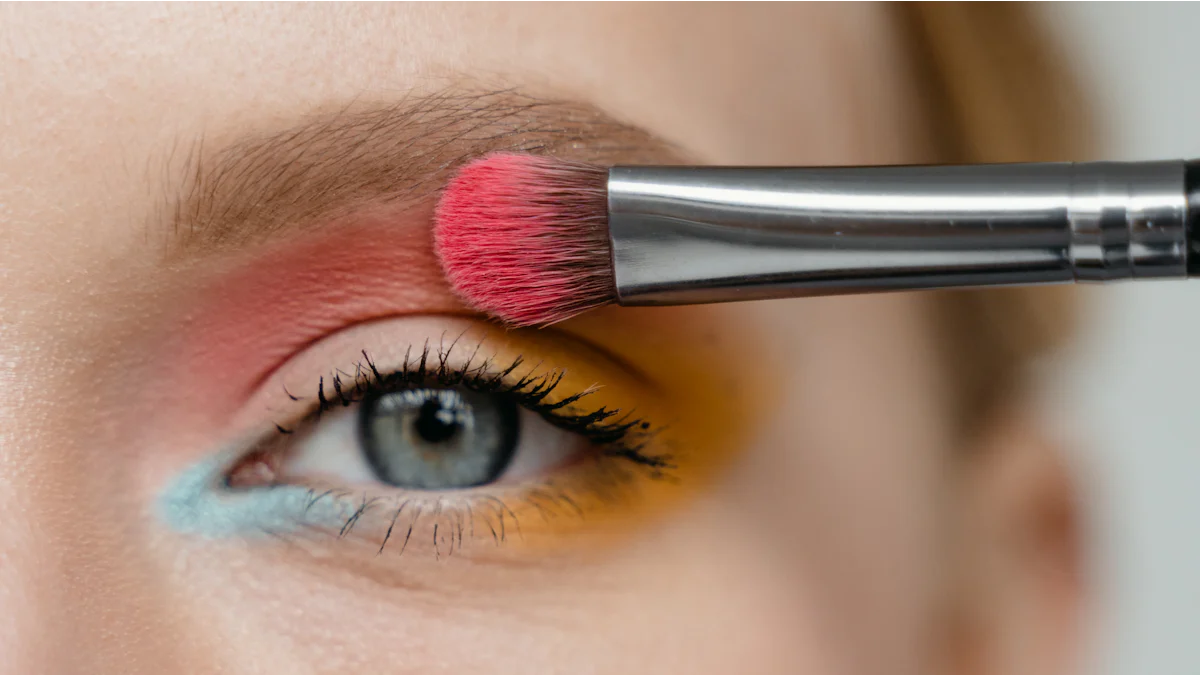
- Add Lid Color: I pick my favorite shade and pat it onto my lid with a domed brush. This technique ensures even coverage.
For blending, I grab a fluffy brush and work from light to dark shades in the crease. A quick highlight in the inner corner brightens the whole look.
Blending Techniques for Seamless Transitions
Blending is where the magic happens. I always use a transition shade close to my skin tone to soften harsh lines. Here’s my go-to method:
- I apply the transition shade with a soft, fluffy brush where two colors meet.
- Using small circular motions, I blend until the colors melt together.
- I take my time—rushing never works!
A good primer helps create a smooth base, making blending even easier.
Layering Colors for Depth and Dimension
Layering eyeshadow gives your look that professional touch. I start with a light base color all over the lid. Then, I add medium shades to the crease and outer corner for dimension. Finally, I use a darker shade to deepen the outer V.
The trick? Build up the colors gradually. I use a small amount of product and layer until I get the intensity I want.
Using the DYT Brush for Precision and Control
The DYT Brush has been a game-changer for me. Its design makes it perfect for precise application. I use it to create sharp cut creases or to pack color onto the lid. It’s also amazing for blending out smokey looks. Whether you’re a beginner or a pro, this brush makes everything easier.
Cleaning and Maintaining Your Brushes
Keeping brushes clean is so important. Dirty brushes can mess up your makeup and even irritate your skin. Here’s how I maintain mine:
- After every few uses, I rinse them under lukewarm water to remove excess product.
- I use a gentle cleanser or mild soap to clean the bristles.
- Once clean, I lay them flat on a towel to air dry.
For quick touch-ups, I spot-clean with a dedicated brush cleaner. Regular cleaning keeps my brushes in top shape and ensures my makeup always looks flawless.
Common Mistakes to Avoid
Using the Wrong Brush for the Job
I’ve learned the hard way that using the wrong brush can ruin an otherwise perfect look. For example, trying to blend with a dense shader brush just doesn’t work. It leaves harsh lines and makes blending a nightmare. Each brush has a specific purpose, so it’s important to match the tool to the task. If you’re unsure, start with a blending brush—it’s versatile and works for most techniques. Trust me, the right brush makes all the difference.
Overloading the Brush with Product
I used to think more product meant better results. Spoiler alert: it doesn’t. Overloading your brush can lead to fallout and patchy application. Instead, I tap off the excess product before applying it to my lids. This gives me more control and helps build color gradually. A little goes a long way, especially with highly pigmented shadows. Start small and layer up—it’s much easier to add than to take away.
Skipping Brush Cleaning
I’ll admit, I used to skip cleaning my brushes. Big mistake! Dirty brushes can cause so many problems:
- They collect bacteria, oils, and dead skin cells, which can lead to breakouts and irritation.
- Makeup doesn’t go on smoothly, leaving uneven finishes.
- Stiff, dirty bristles can even damage your skin.
Now, I clean my brushes regularly. It keeps my skin happy and my makeup flawless. Plus, clean brushes last longer, so it’s worth the effort.
Not Blending Properly: Fixing Harsh Lines
Blending is key to a polished look. Harsh lines can make your makeup look unfinished. I always take a clean blending brush and soften the edges of my eyeshadow. Small circular motions work best for me. If I mess up, I use a neutral transition shade to fix it. Blending takes patience, but the results are so worth it. Smooth transitions make your eyeshadow look professional, even if you’re just starting out.
Mastering eyeshadow brushes has completely transformed how I do my makeup. Using the right brush for each task makes blending, shading, and defining so much easier. Different brushes serve unique purposes, and regular practice has helped me improve my skills.
I’ve also learned that clean brushes are essential. Dirty tools can irritate your skin and ruin your look. Keeping them clean ensures smooth application every time.
So, grab your brushes and have fun experimenting! Makeup is all about creativity. With practice, you’ll create stunning looks that feel effortless.
Post time: Jan-26-2025
